
Bye, Bye Blonde
Having had the most unfortunate luck of being born 'a ginger' (in the UK this is akin to being afflicted with leprosy), shunned by society and flogged with stones, I decided to dye my hair. However, my parents were pretty strict with this sort of thing so it wasn't until I reached adulthood that I was allowed to make this change.
First I had it subtly highlighted, then later I had it low-lighted, and sometime after that I dyed the whole lot bright 'pillar-box' red. It was the red that really changed me, having different coloured hair was like getting a new lease of life. After that I tried having black hair, which really suited my gothically dark side. From there I went red again, then dark pink, then turquoise, then, which was my most creative piece, and what I refer to as my 'bubblegum' hair phase, I went pastel pink, mint, turquoise and lilac all at the same time.
Phew, it's a wonder I had any hair left to dye. Nevertheless I decided six months back, after the end of a relationship, to strip out all my colour and go blonde. Being blonde was a new thing for me, again a new phase in my life, but that phase has long since worn off and being blonde isn't as fun as they said it would be. So, my friends, the time has come to start anew. Bye, bye boring blonde, hello party pink.
Would you like to go pink? Lilac maybe? Blue? Or none of the above? Well anyway in case you'd like to have some fun with your hair here is my step-by-step guide to healthy looking coloured hair using non-peroxide dyes.
Step 1: Get Prepared
If you are not already a pale shade of blonde (the whiter the blonde the brighter your new colour will be), or your roots need doing, you'll need to start with the peroxide before you can use the non-peroxide colours. Here's what you'll need:
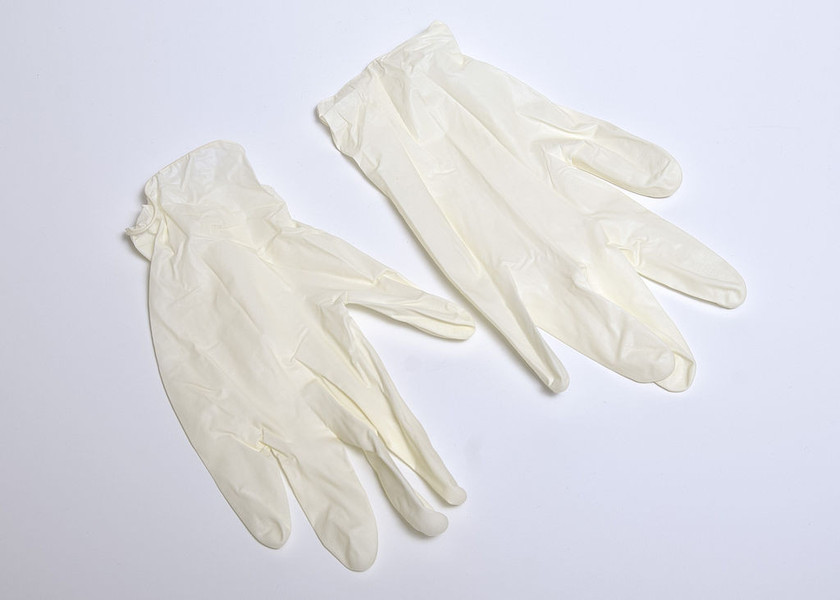
- A pair of Latex (or other other type if you have an allergy) gloves
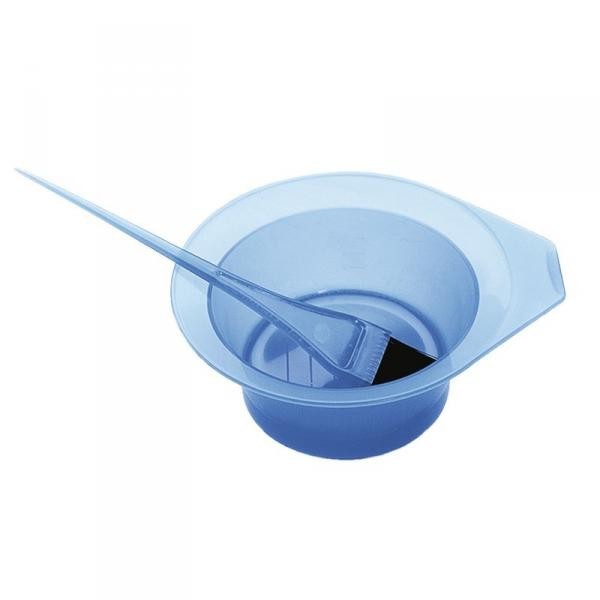
- A plastic (never use metal objects when bleaching hair) bowl and dye brush
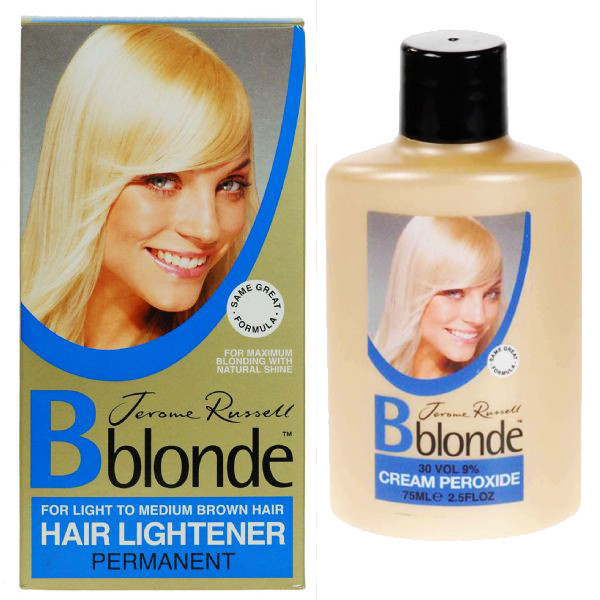
- A bottle of cream bleach (30 volume if you have up to medium brown hair, 40 if you've got darker hair)
- A packet of powder bleach
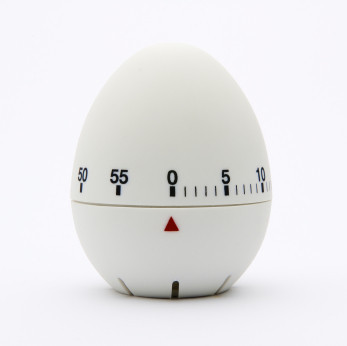
- An egg timer
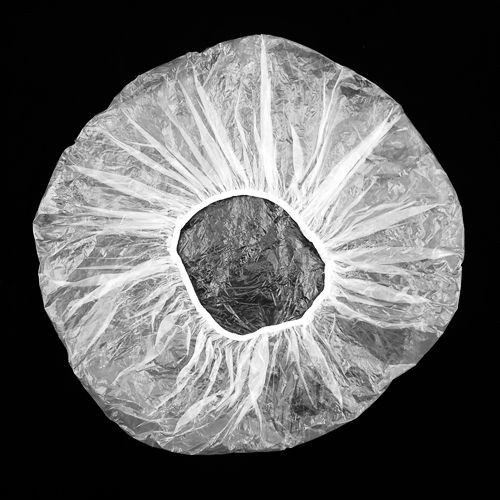
- A plastic shower cap
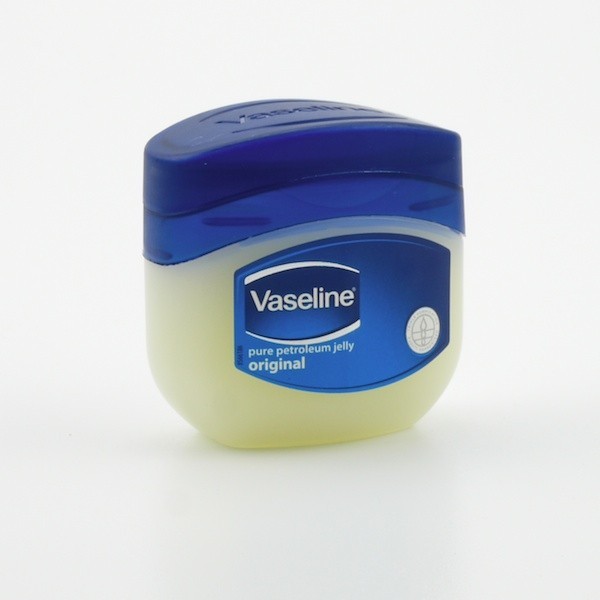
- Petroleum jelly (this is optional)
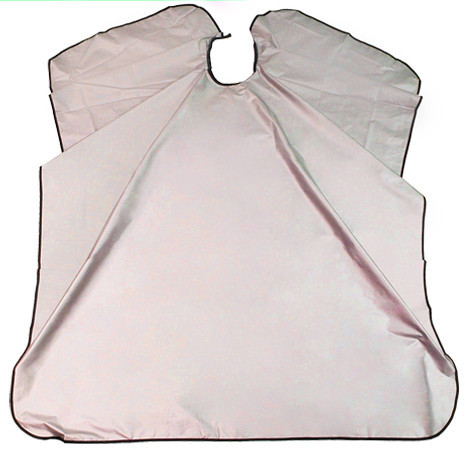
- A salon style cape or a black bin bag cut open to use as a cape
- An old bath towel
- Shampoo
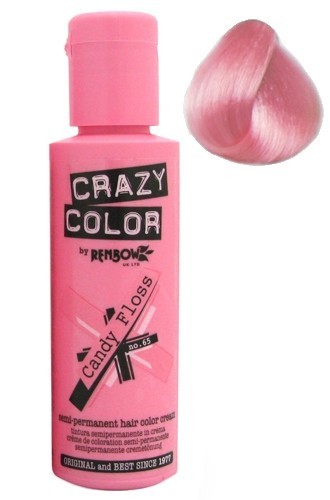
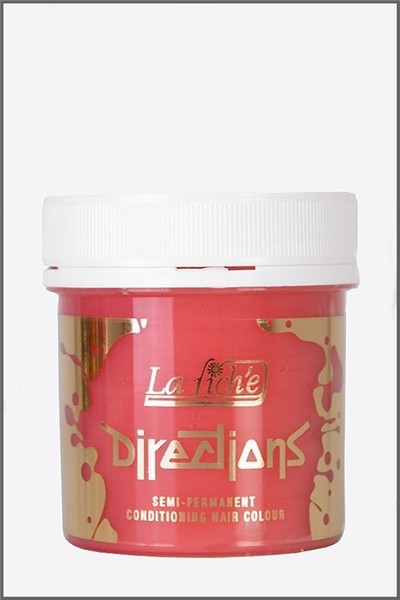
- Your chosen non-peroxide colour (I recommend conditioning semi-permanent ones such as Directions or Renbow)
Step 2: Blonding
After doing a patch/strand/skin test and you feel confident that your hair is healthy enough and you've had no allergic reactions then you're ready to go.
First ensure your clothes and anything you don't want ruined by bleach is covered up. Brush your hair and don your cape (or bin bag!). Pour your cream bleach (I use the Jerome Russell brand, see image above) into your bowl. Add your bleach powder (carefully so as not to inhale any) and mix it with your brush. It will be a pale blue colour and should be lump-free and smooth (it does have a tendency to thicken on standing so use it quickly). Applying the petroleum jelly to your hairline (don't get any on your hair) at this point will stop your skin bleaching, drying out, or getting irritated from the mixture.
Begin application; if you need to do your roots only ensure you do not get any on hair that is already blonde as you will over process it and it could get damaged/fallout if left on too long.
To bleach all of your hair be sure to work in sections until it is completely covered (you may need more mixture if your hair is long or thick so you should be prepared for this). Once you've put bleach on the areas you need blonding you can put on your shower cap, which helps retain moisture as well as keeping bleach off your clothes. You can also use an old towel to put around your neck and shoulders if you want to be extra careful at keeping your clothes covered.
Another thing to make sure of is that you use your egg timer and check your hair every ten minutes. During checking if you notice the hair becoming brittle, stretchy or falling out, or if it feels warm to touch, then you should wash it out immediately. The same applies if you feel any burning. Don't forget that hair closer to the scalp will process faster because of your body heat and therefore I'd recommend bleaching that area last, and never apply any heat (i.e use a hairdryer in hope to make it blonder faster) to the hair as this will damage it.
Depending on your original hair colour, and how porous your hair is, the development time will be anywhere between 20-90 minutes. After you've reached your ideal shade of blonde (hair will look a darker shade when wet) rinse thoroughly in warm water then shampoo. After shampooing you don't need to condition it if you are going on to use one of the conditioning non-peroxide dyes.
Step 3: Creative Colours
Okay, so now you're ready to add some colour. You can add just streaks of colour, you can add more than one colour and you can even mix colours together to make new ones. I did mine 'candy floss' pink by Renbow. Directions and Renbow are both great UK brands, if you're in the US and can't find these check out Ebay or use Manic Panic's colours.
First, you'll need to wash your hair in a non-conditioning or clarifying shampoo (if you've just shampooed and rinsed it after bleaching you can skip this step). Towel dry your hair and put on some latex/disposable gloves. Apply the colour either with your fingers or a tint brush (like the one pictured earlier with the bowl). Massage the colour into the hair and then wrap your hair in clingfilm/shrink-wrap. Keep out of the cold or any slight breezes and let the conditioning dye do its thing. Colouring can take anywhere between 15 minutes and half an hour, the longer you leave it the more conditioned it will be (leaving it on longer than 15 minutes will not make the colour change and leaving it on more than half an hour is more or less pointless).
Rinse all of the dye off in warm water (this dye will stain things really easily so be careful!) and make sure you use and old or black-coloured towel to wrap and dry your hair. After this you can dry your hair and style it as normal. Sometimes colour may transfer to pale bedding or shirt collars etc, but this should fade after you've washed it a few times. These semi-permanent colours will permanently stain hair but they will also fade, my tip is to do a quick application every 2 weeks to keep it looking vibrant.
Now you can sit back and enjoy a cup of tea (after all that hard work you've earned it) while you listen to the compliments about your funky new hair!